
PATIOS & PAVING
Before You Lay New Paving: The Prep Steps Most Homeowners Miss

A beautifully paved driveway, patio, or garden path starts long before the first slab is laid. While most homeowners focus on choosing colours, materials, and patterns, the success of any paving project depends on what happens underneath. The preparation stage determines whether your surface lasts decades—or begins to sink, shift, or crack within a single season.
Understanding the essential groundwork steps helps you avoid common pitfalls and ensures the final result is stable, level, and built to withstand the UK’s changing weather. These are the preparation tasks that many homeowners overlook but make the biggest difference to long-term performance.
Assessing the Site Properly Before Work Begins
Every paving project starts with a detailed site assessment, yet this is the step most homeowners underestimate. Professional installers check levels, soil type, drainage direction, existing structures, and access points. These factors determine the depth of excavation, the type of sub-base required, and how the finished surface will perform under load and weather.
Skipping a thorough assessment often leads to reactive decisions later—adjusting falls after paving starts, discovering unexpected soft spots, or having to re-dig areas due to poor drainage. Careful planning at the start eliminates these costly surprises and ensures the layout works with the property, not against it.
Marking Out and Measuring Accurately
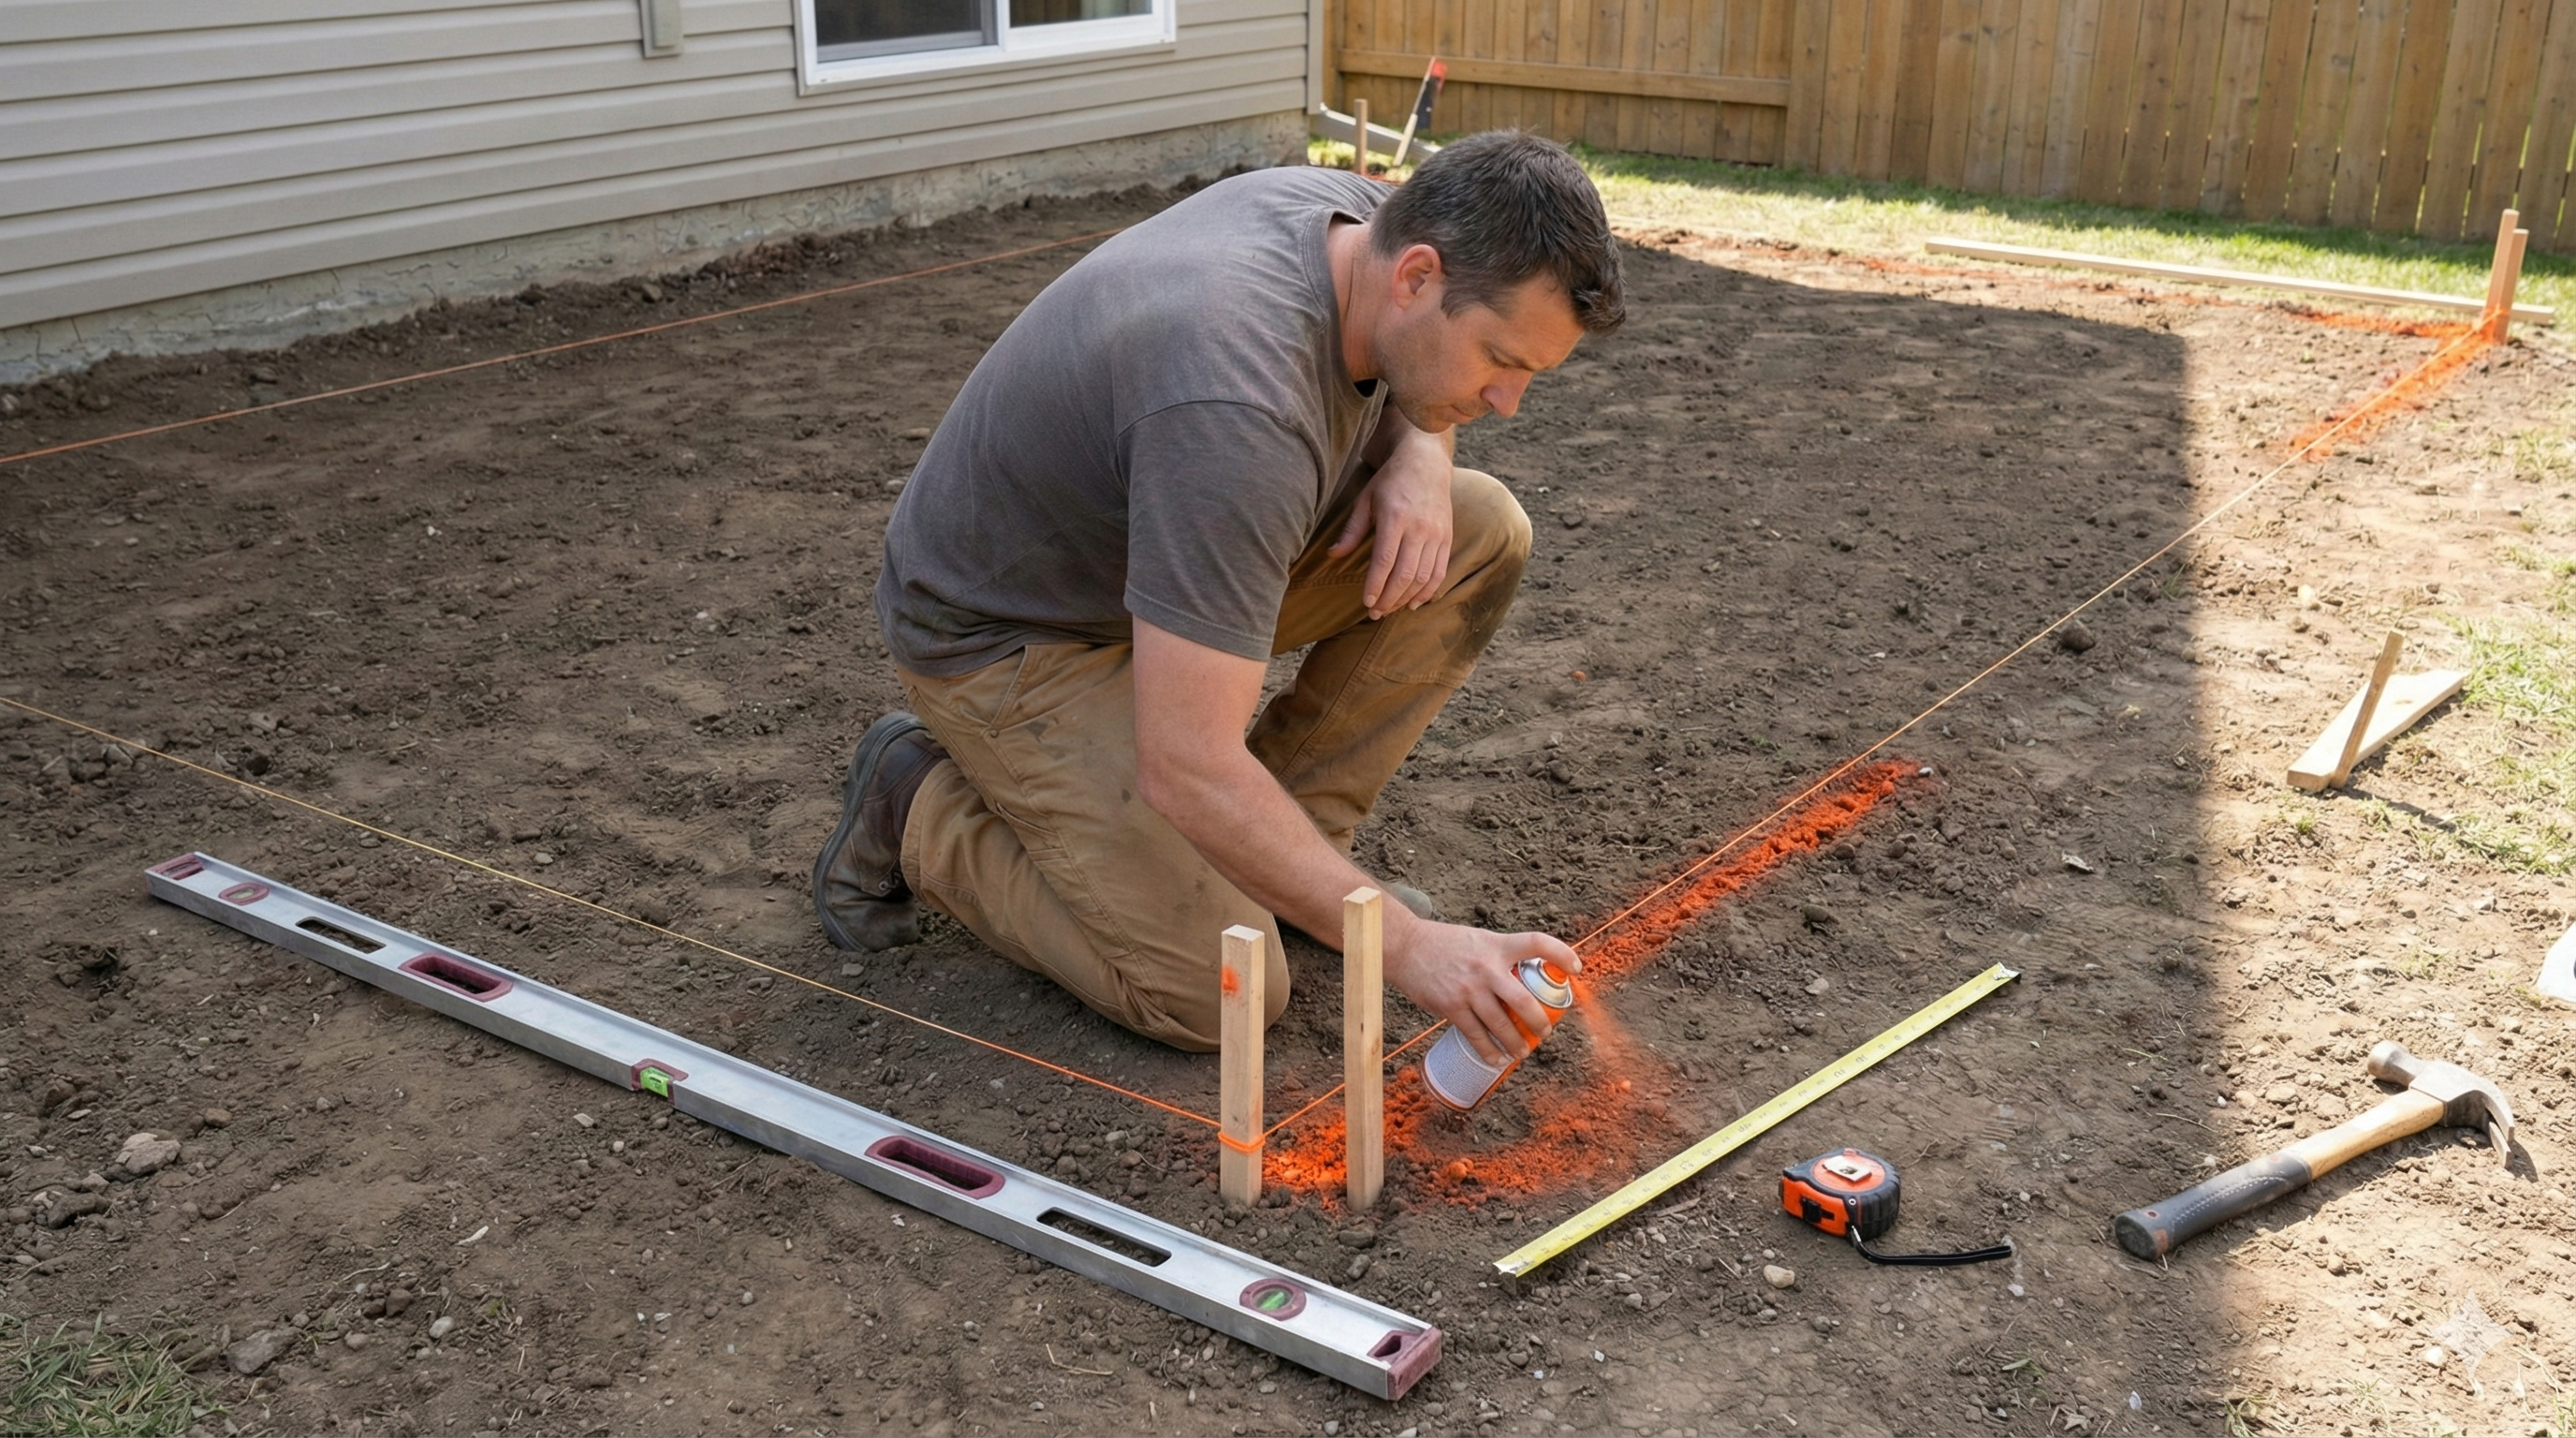
A common mistake is relying on rough estimates to set layout boundaries. Precise marking determines not only the shape of the paved area but also alignment, edging placement, and fall direction.
Professional installers use string lines, levels, spray markers, and measurement tools to create accurate boundaries. This prevents uneven edges, inconsistent joint widths, and misaligned patterns. Accurate marking also ensures driveways and paths meet entry points perfectly, avoiding awkward gaps against walls or thresholds.
Understanding Excavation Depth Requirements
The most important preparation step is excavation. Many failed paving projects can be traced back to insufficient digging. Depending on the type of paving and load requirement, installers typically remove 150–250 mm of soil to reach stable ground.
Shallow excavation leaves no room for a supportive sub-base. As a result, paving shifts under rainfall, vehicles, or frost. Proper excavation ensures enough depth for compacted layers, water drainage, and long-term structural integrity. This is where professional experience significantly impacts durability.
Choosing the Correct Sub-Base Material
The sub-base is the structural heart of any paved surface. Homeowners often assume any crushed stone will do, but using the wrong material leads to movement, sinking, and water retention. The industry standard is MOT Type 1 or a permeable aggregate for areas requiring drainage compliance.
These materials interlock when compacted, forming a strong and reliable foundation. Using soft aggregates or recycled rubble might save money upfront but guarantees problems later. A high-quality sub-base ensures the paving stays level, stable, and weather-resistant for years.
Compacting in Layers—Not All at Once
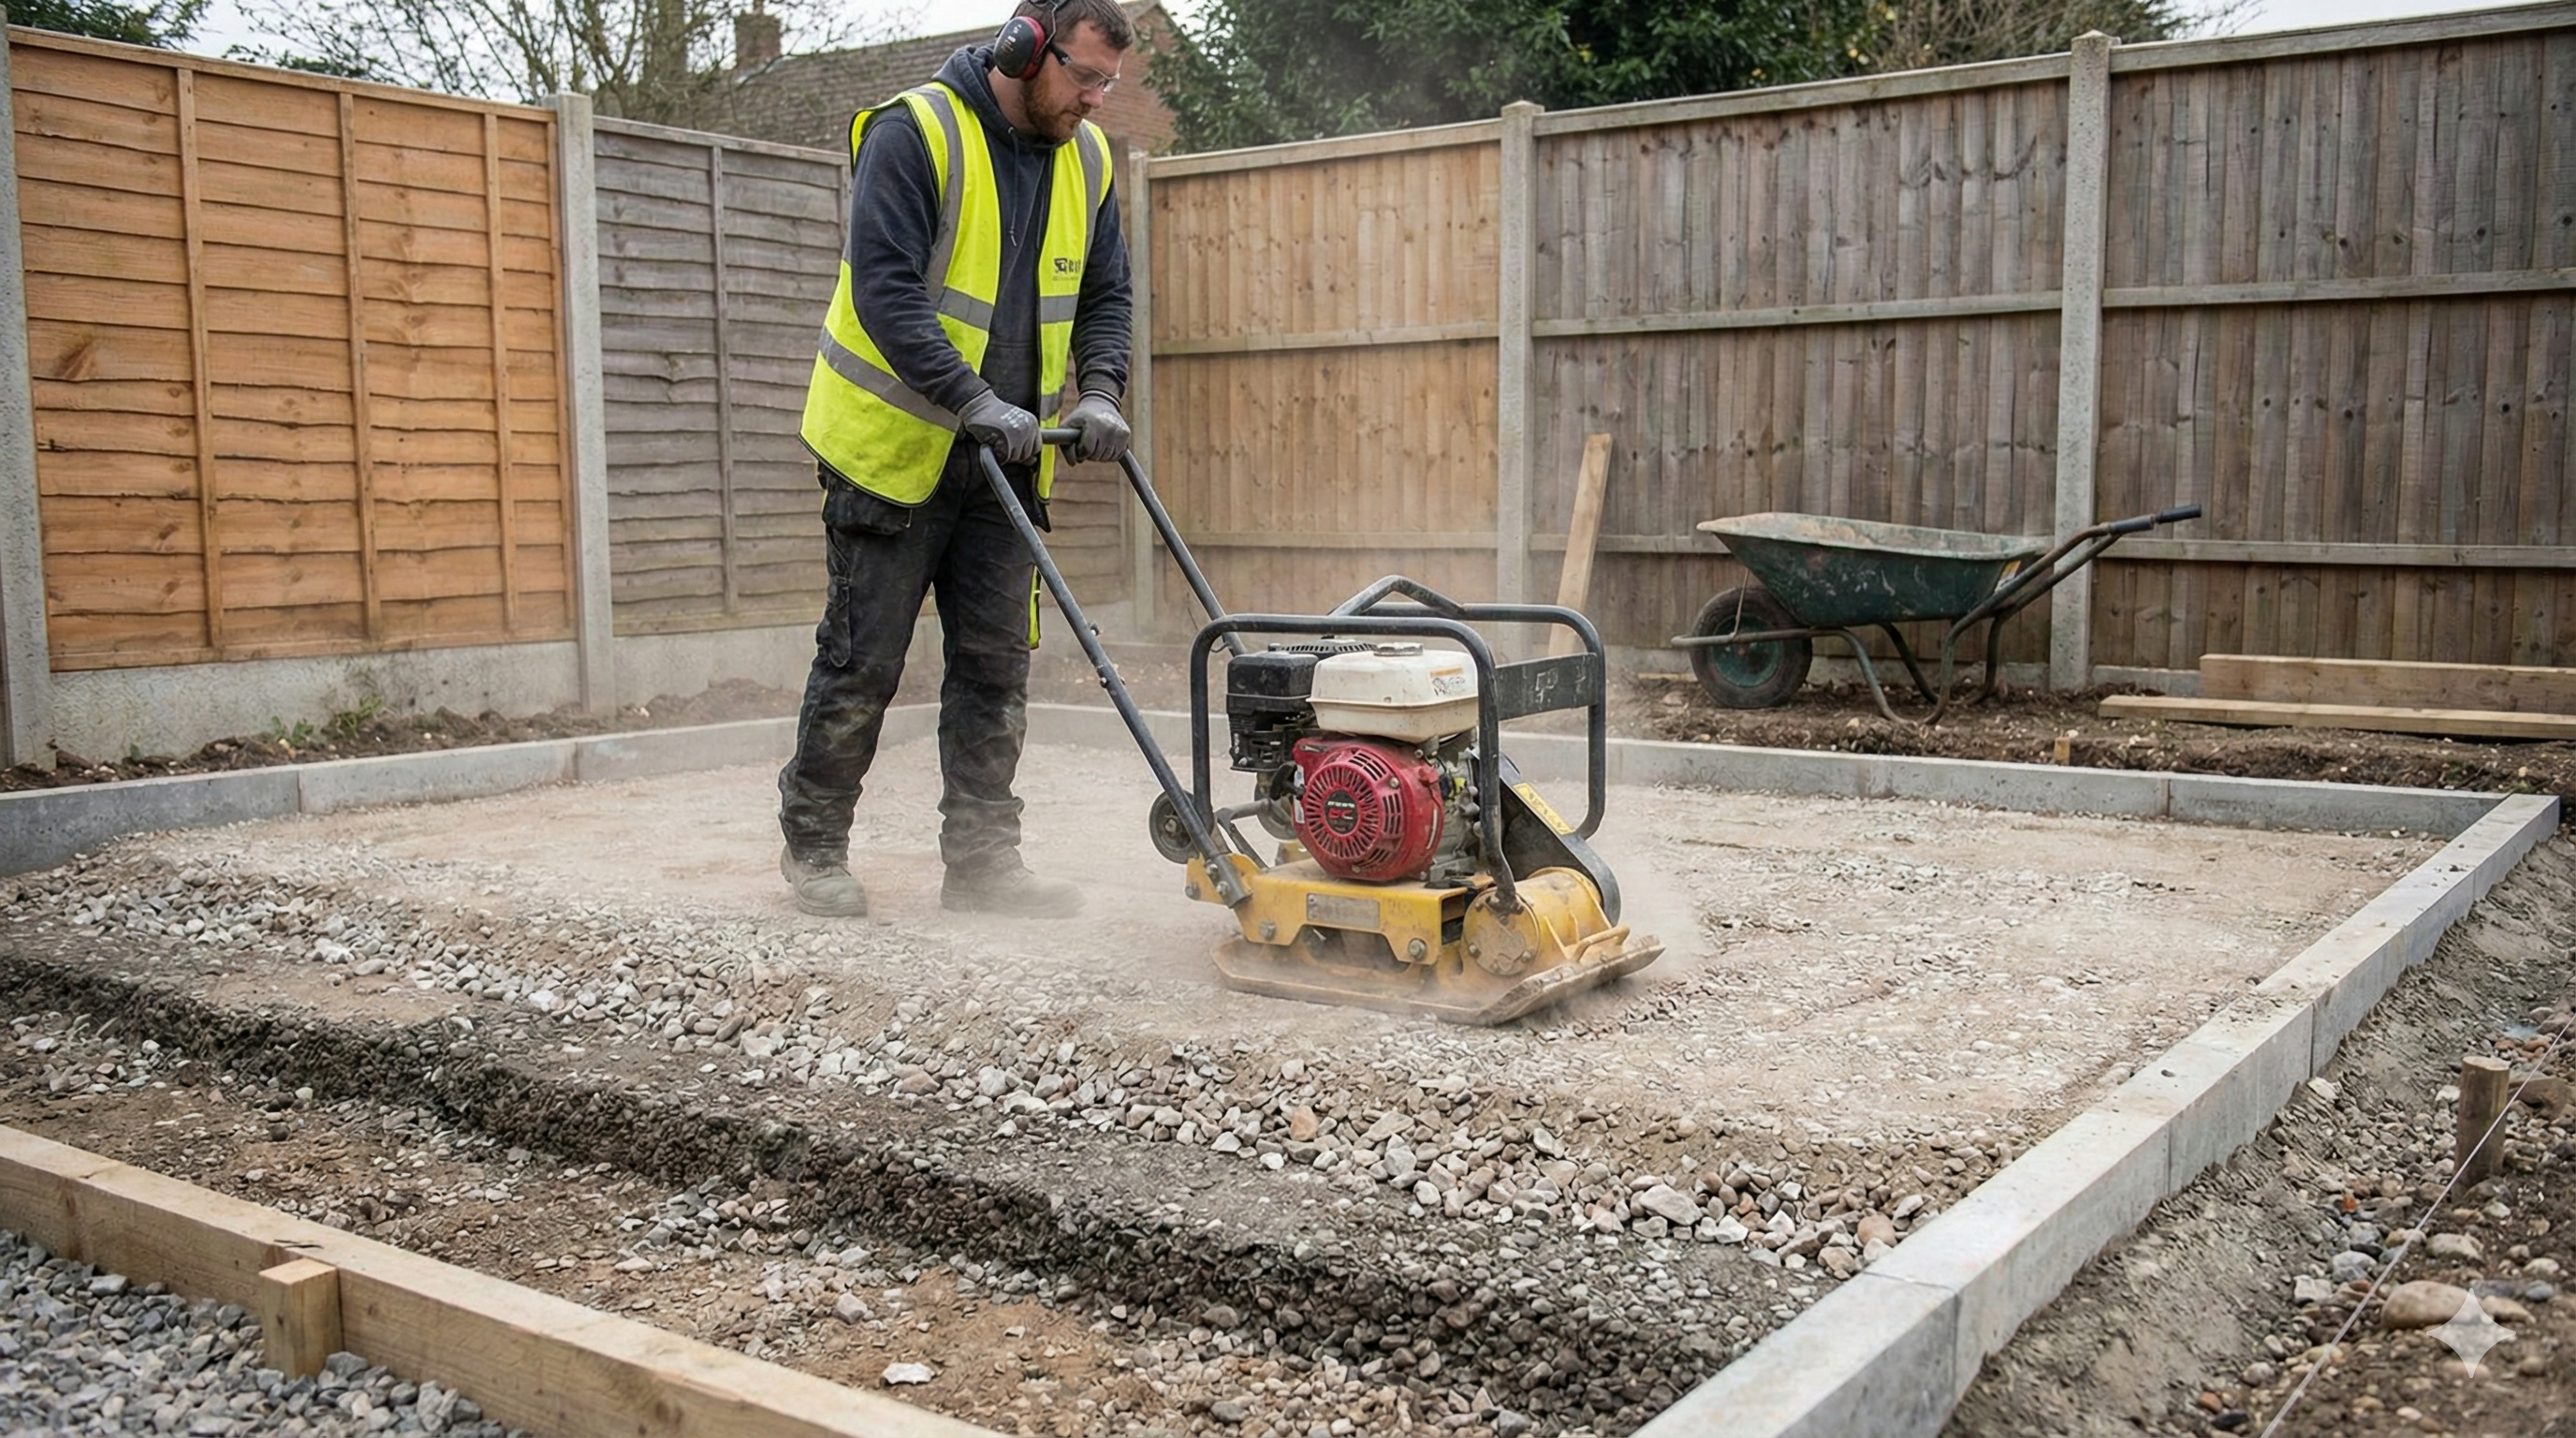
Proper compaction is one of the most overlooked aspects of paving preparation. The sub-base can’t simply be tipped into the excavation and compacted once. It must be installed in layers of around 75 mm, with each layer compacted fully using a vibrating plate or roller.
Layered compaction removes air pockets, increases density, and prevents settling. When shortcuts are taken here, the surface may appear fine for a few months but will begin to dip and shift as winter moisture softens the base. A well-compacted foundation is the difference between paving that lasts one year and paving that lasts twenty.
Correctly Calculating Falls and Drainage Routes
A paving project must account for how water will move across and away from the surface. This involves calculating a slight gradient, often 1:60, to ensure water flows naturally without pooling. Poor drainage leads to damp spots, algae growth, and frost damage.
Professional installers assess all pathways water might travel—from buildings, slopes, and adjoining surfaces. They create controlled run-off areas or integrate drainage channels, ensuring the garden and paved areas remain safe and functional during heavy rainfall.
Installing Edging to Support the Structure
Edging provides essential structural support, keeping paving locked in place and maintaining its shape over time. Without proper edge restraints, blocks or slabs can shift outward when vehicles pass over the surface or when frost causes ground expansion.
Edging can be installed using concrete haunching, kerb stones, or block restraints depending on the design. Homeowners often overlook this step, but it’s vital for preventing spreading, maintaining joint alignment, and reinforcing the entire installation.
Preparing the Bedding Layer Correctly
On top of the sub-base sits the bedding layer, typically 30–50 mm of sharp sand or a sand-cement mix. This layer ensures paving slabs sit evenly and at the correct height.
Uneven bedding creates rocking slabs, irregular joints, and misaligned patterns. Professionals screed the bedding layer carefully using level bars and straightedges, ensuring uniform depth and consistent support across the entire area.
Final Surface Checks Before Laying Paving
Before any slabs or blocks are laid, the entire prepared surface must be checked. Professionals verify:
- Sub-base levels
- Fall direction
- Edge support
- Uniform bedding depth
- Access and movement around the area
Making adjustments now prevents costly tear-ups later. A careful final check ensures the surface is ready for a precise, long-lasting installation.
Preventing These Mistakes With Ominiworks
Preparation is where quality paving begins. When groundwork is rushed or skipped, even the best materials fail quickly. Proper excavation depth, correct sub-base installation, edge support, and drainage planning determine whether your paving remains solid through years of heavy use and harsh weather.
Ominiworks ensures every project is prepared correctly from the start. Our team follows industry-standard excavation depths, uses premium aggregates, rechecks falls several times, and lays every foundation with durability in mind.
Build paving that lasts—contact Ominiworks today for expert groundwork and professional installation.
COMMON QUESTIONS
Your questions answered
What should I know about assessing the site properly before work begins?
Every paving project starts with a detailed site assessment, yet this is the step most homeowners underestimate. Professional installers check levels, soil type, drainage direction, existing structures, and access points. These factors determine the depth of excavation, the type of sub-base required, and how the finished surface will perform under load and weather.
What should I know about marking out and measuring accurately?
A common mistake is relying on rough estimates to set layout boundaries. Precise marking determines not only the shape of the paved area but also alignment, edging placement, and fall direction.
What should I know about understanding excavation depth requirements?
The most important preparation step is excavation. Many failed paving projects can be traced back to insufficient digging. Depending on the type of paving and load requirement, installers typically remove 150–250 mm of soil to reach stable ground.
How do I choose the right design and materials?
The sub-base is the structural heart of any paved surface. Homeowners often assume any crushed stone will do, but using the wrong material leads to movement, sinking, and water retention. The industry standard is MOT Type 1 or a permeable aggregate for areas requiring drainage compliance.
What should I know about compacting in layers—not all at once?
Proper compaction is one of the most overlooked aspects of paving preparation. The sub-base can’t simply be tipped into the excavation and compacted once. It must be installed in layers of around 75 mm , with each layer compacted fully using a vibrating plate or roller.
How should drainage be planned?
A paving project must account for how water will move across and away from the surface. This involves calculating a slight gradient, often 1:60 , to ensure water flows naturally without pooling. Poor drainage leads to damp spots, algae growth, and frost damage.
What should the installation include?
Edging provides essential structural support, keeping paving locked in place and maintaining its shape over time. Without proper edge restraints, blocks or slabs can shift outward when vehicles pass over the surface or when frost causes ground expansion.
What should I consider before starting?
A beautifully paved driveway, patio, or garden path starts long before the first slab is laid. While most homeowners focus on choosing colours, materials, and patterns, the success of any paving project depends on what happens underneath. The preparation stage determines whether your surface lasts decades—or begins to sink, shift, or crack within a single season.
Planning work at your property?
Send the postcode, photographs and a short description. OMINIWORKS will explain the appropriate next step.
Request a site survey